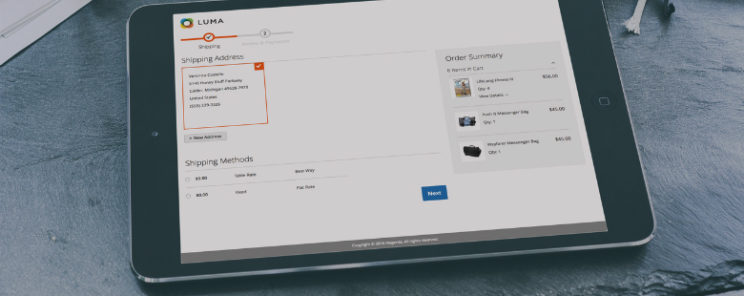
Hello! Do you hate editing Magento Checkout? I know how you feel… 😀
The checkout in Magento 2 is built up from a series of Knockout JS components which are then rendered using the Knockout JS templating system. Magneto 2 defines each one of these components and their parent/child relationship in a large XML file which can be extended or overridden in your own theme or module.
First of all, it all starts in checkout_index_index.xml.
[Magento_Checkout_module_dir]/view/frontend/layout/checkout_index_index.xmlCreate this file in your theme, and we can start:
[Magento_Checkout]/layout/checkout_index_index.xmlExample 1: Remove field from Shipping form
Define path to component which you are planing to remove and add this item as a child:
(in this example Fax field)
<item name="visible" xsi_type="boolean">false</item><?xml version="1.0"?>
<page xmlns_xsi="http://www.w3.org/2001/XMLSchema-instance" layout="checkout" xsi_noNamespaceSchemaLocation="urn:magento:framework:View/Layout/etc/page_configuration.xsd">
<body>
<referenceContainer name="content">
<block class="MagentoCheckoutBlockOnepage" name="checkout.root" template="onepage.phtml" cacheable="false">
<arguments>
<argument name="jsLayout" xsi_type="array">
<item name="components" xsi_type="array">
<item name="checkout" xsi_type="array">
<item name="children" xsi_type="array">
<item name="steps" xsi_type="array">
<item name="children" xsi_type="array">
<item name="shipping-step" xsi_type="array">
<item name="children" xsi_type="array">
<item name="shippingAddress" xsi_type="array">
<item name="children" xsi_type="array">
<item name="shipping-address-fieldset" xsi_type="array">
<item name="children" xsi_type="array">
<item name="fax" xsi_type="array">
<item name="visible" xsi_type="boolean">false</item>
</item>
</item>
</item>
...Clean the cache and the changes will be visible.
Example 2: Move component’s on Checkout
In this case, we will move Terms and Conditions from the default position (under payment method) to the end of Checkout.
Step 1: To show the item in the new place, we must first disable an item from the default position, follow XML tree and replace item:
<item name="before-place-order" xsi_type="array">
    ...
</item>
with:
<item name="before-place-order" xsi_type="array">
    <item name="componentDisabled" xsi_type="boolean">true</item>
</item>
Step 2: Re-add to your desired location, in this case on the end of Checkout:
<item name="after-place-agreements" xsi_type="array">
    <item name="component" xsi_type="string">uiComponent</item>
    <item name="displayArea" xsi_type="string">after-place-agreements</item>
    <item name="dataScope" xsi_type="string">before-place-order</item>
    <item name="provider" xsi_type="string">checkoutProvider</item>
    <item name="config" xsi_type="array">
        <item name="template" xsi_type="string">Magento_Checkout/payment/before-place-order</item>
    </item>
    <item name="children" xsi_type="array">
        <item name="agreementss" xsi_type="array">
            <item name="component" xsi_type="string">Magento_CheckoutAgreements/js/view/checkout-agreements</item>
            <item name="sortOrder" xsi_type="string">100</item>
            <item name="displayArea" xsi_type="string">after-place-agreements</item>
            <item name="dataScope" xsi_type="string">checkoutAgreements</item>
            <item name="provider" xsi_type="string">checkoutProvider</item>
        </item>
    </item>
</item>
Step 3: Call this template where you need:
(in our example on the end of Checkout: “after-place-agreements”)
<!-- ko foreach: getRegion('after-place-agreements') -->
    <!-- ko template: getTemplate() --><!-- /ko -->
<!--/ko-->
Example 3: Adding Custom block in Header
You’ll probably be in a position that the client wants more information in the Checkout header to increase the conversion rate, a sense of security sites, etc. Here’s how:
<referenceBlock name="checkout.header.wrapper">
    <container name="additional-custom-block-wrapper" label="additional-custom-block-wrapper" htmlTag="div" htmlClass="additional-custom-block-wrapper">
        <block class="MagentoCmsBlockBlock" name="additional-custom-block">
            <arguments>
                <argument name="block_id" xsi_type="string">additional-custom-block</argument>
            </arguments>
        </block>
    </container>
</referenceBlock>
Example 4: Adding Custom Footer to Checkout
If a want to highlight some specific things, methods of payment, information delivery, additional coupons, etc.
This is a sample of how to create a custom footer with CMS block or template file:
CMS Block
<referenceContainer name="page.bottom.container">
    <container name="additional-custom-footer-wrapper" label="additional-custom-footer-wrapper" htmlTag="div" htmlClass="additional-custom-footer-wrapper">
        <block class="MagentoCmsBlockBlock" name="additional-custom-footer">
            <arguments>
                <argument name="block_id" xsi_type="string">additional-custom-footer</argument>
            </arguments>
        </block>
    </container>
</referenceContainer>
Template
[Magento_Theme]/templates/checkout-footer.phtml<referenceContainer name="page.bottom.container">
<container name="additional-custom-footer-wrapper" label="additional-custom-footer-wrapper" htmlTag="div" htmlClass="additional-custom-footer-wrapper">
<block class="MagentoFrameworkViewElementTemplate" name="additional-custom-footer" template="Magento_Theme::checkout-footer.phtml" />
</container>
</referenceContainer>If you’re going to need any help regarding your Magento development or Migration from Magento 1 to Magento 2 in particular, we would be more than happy to offer you insights and various solutions. Happy coding!


