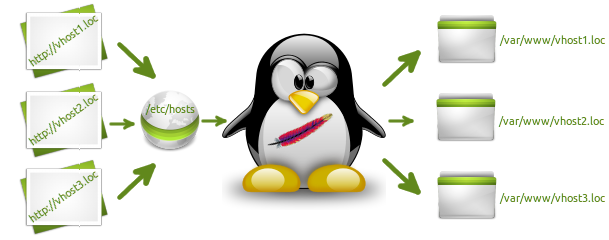
I’ve been developing inside LAMP environment since the day one of my web development adventure. Reason for this is that all of the web development tools like web server, database management system, source code revision control systems are at home when I log into the Linux powered workstation. Of course there are some downsides to developing inside LAMP, most importantly the sheer complexity of LAMP environment configuration. With this in mind I’ve created tool designed to simplify management of name based virtual hosts on Debian based Linux operating systems. In this article I’ll give my best to provide an overview of this tool and present you with a few clear examples illustrating its usage.
This tool is a bash shell script named lamp-vhost-manager released under GPLv2 open source license and available from it’s GitHub repository page. Here are some of the features of this shell script:
- Two modes of operation, add project and remove project.
- Can optionally create MySQL user and database for the project.
- Has basic error checking built in. Also script will ask you before permanently removing any files or databases.
- Project directories are created with proper user and group ownership depending on your base document root configuration.
First things first, this is how to grab a copy of lamp-vhost-manager:
wget --no-check-certificate https://github.com/Marko-M/lamp-vhost-manager/tarball/master -O - | tar xz
cd Marko-M-lamp-vhost-manager-*
chmod +x lamp-vhost-manager.sh
I usually copy this type of scripts to /usr/bin so they could be accessed globally:
sudo cp lamp-vhost-manager.sh /usr/bin/One note, before using this script please make sure name based virtual hosting has been enabled for your Apache installation. Also note that script requires root privileges to do its work.
After grabbing your copy of lamp-vhost-mangager you can use following command to create project accessible at vhost1.loc domain:
sudo /usr/bin/lamp-vhost-manager.sh -m add -n vhost1.locIf you would like to also create MySQL user and database for your project you can provide your MySQL admin user credentials like this:
sudo /usr/bin/lamp-vhost-manager.sh -m add -n vhost1.loc -u mysqladminusername -p mysqladminuserpasswordPreceding command will configure virtual host and provide you with data like URL and file system path of your new project and database credentials so you can get right to work.
To remove the vhost1.loc project you can use similar command but this time change -m parameter from add to remove like this:
sudo /usr/bin/lamp-vhost-manager.sh -m remove -n vhost1.loc -u mysqladminusername -p mysqladminuserpasswordScript will then ask you for confirmation before removing any resources and then do its job accordingly.
There’s a few more parameters to adjust this script to your work environment at your disposal. You can use -h parameter to get detailed usage instructions like this:
sudo /usr/bin/lamp-vhost-manager.sh -hIf you would like to avoid having to provide some parameters each time you call the lamp-vhost-manager, you can edit corresponding bash variables at the beginning of the script.
I hope that lamp-vhost-manager works for you and that you find it useful. If you have any suggestions or encounter any difficulties just drop your comment here and I’ll see what can be done.