Search has become a default way for users to find products on websites. Despite main navigation and other site navigation tools, more and more customers are using on – site search to find what they want. Speaking about default Magento search I don’t have much to say, I can only give you advice to use some custom solution to get the most of it for your UX.
If you want to go one step further and make the best solution for your Magento search, use Apache Solr. Ok? Ok! So, what is Solr?
“SolrTM is the popular, blazing fast open source enterprise search platform from the Apache LuceneTM project. Its major features include powerful full-text search, hit highlighting, faceted search, near real-time indexing, dynamic clustering, database integration, rich document (e.g., Word, PDF) handling, and geospatial search. Solr is highly reliable, scalable and fault tolerant, providing distributed indexing, replication and load-balanced querying, automated failover and recovery, centralized configuration and more. Solr powers the search and navigation features of many of the world’s largest internet sites.”
There’s a lot of terminology in this official Apache Solr definition, but don’t let that scare you. Installing example Solr and start it is very easy and we are going to do that in this article. So let’s start!
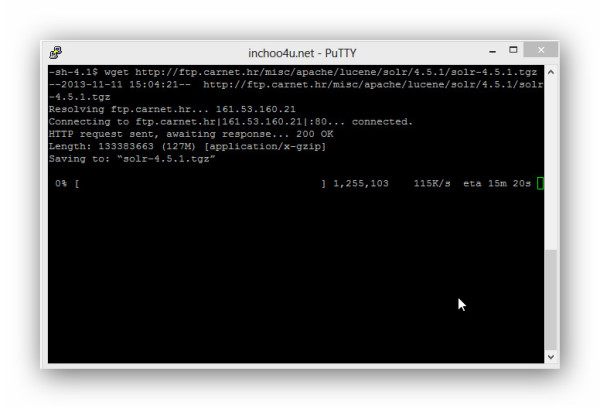
I’ll assume you’re on a Linux or Mac environment. I’ll guide you trough tutorial, live on staging server. First of all, you need to download latest Solr version. You can get it here. Or you can execute wget command from command line interface:
wget http://ftp.carnet.hr/misc/apache/lucene/solr/4.5.1/solr-4.5.1.tgz
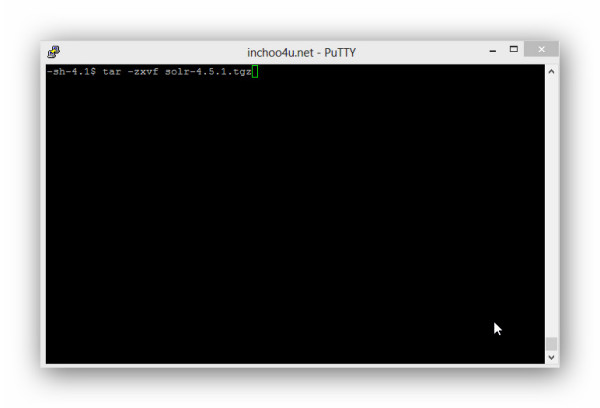
When file is successfully downloaded it will be tar.gz format, so you will need to extract it. Easily you can do this with next command:
tar -zxvf solr-4.5.1.tgz
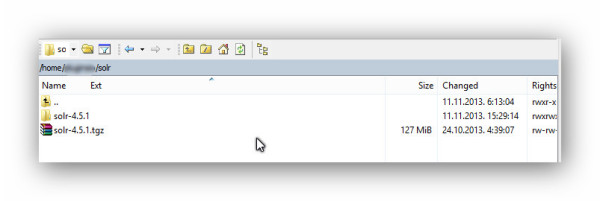
After we finish downloading and extracting it, you must have the following in your directory:
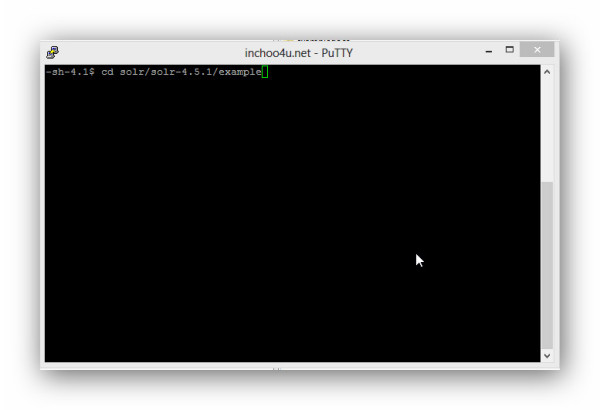
The next step is to position your command line to solr-4.5.1./example. In that directory you have file called start.jar. Executing that file from command line you are starting Apache Solr. There are two ways to start Apache Solr:
Scenario 1: Start it and keep running until console is closed.
Scenario 2: Start and run in background until you choose to stop it from command line.
When you are dealing with live projects then you should choose “scenario 2“. For all other purposes like testing on local/staging server use “scenario 1“, because like other platforms, Solr use resources. I’ll show you Linux commands for both cases so let’s do it for first case:
The first thing you need is set your position to “example” directory, which you can find under: yoursrootdirectory/solr/solr-4.5.1./example
Scenario 1
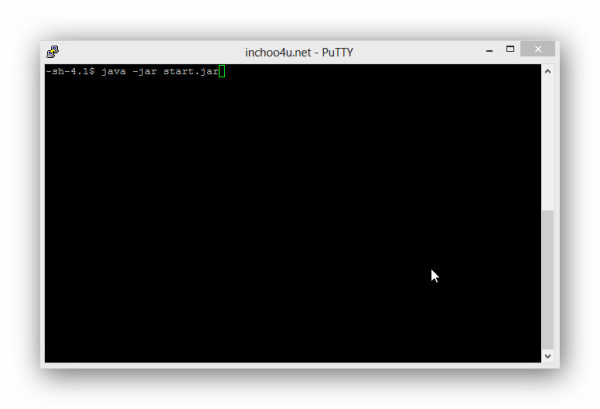
Now when you are in example directory, you can check for your start.jar file with ls command. That is our file which we need to execute for starting Solr. Solr will start with this command:
java -jar start.jar
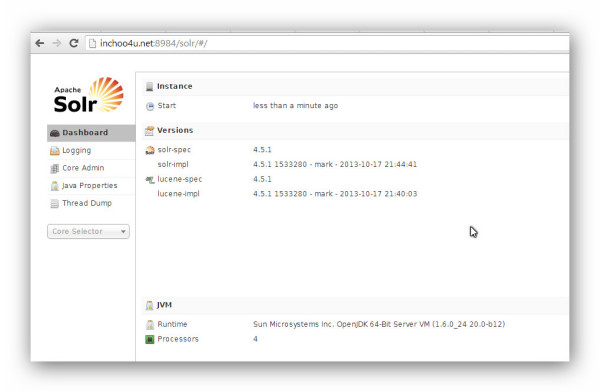
Now your Solr is started and ready for use. Default Solr port is 8983 which you can change in example/etc/jetty.xml. Look for the line <Set name=”port”><SystemProperty name=”jetty.port” default=”8983″/></Set> and change it. For this article I set port to 8984 and when I visit my URL i see my Solr running:
This Solr will run until you close your command line interface or you press Ctrl + C.
Scenario 2
For this scenario we just need a different starting command. Position yourself into example directory like I mentioned before and execute this command:
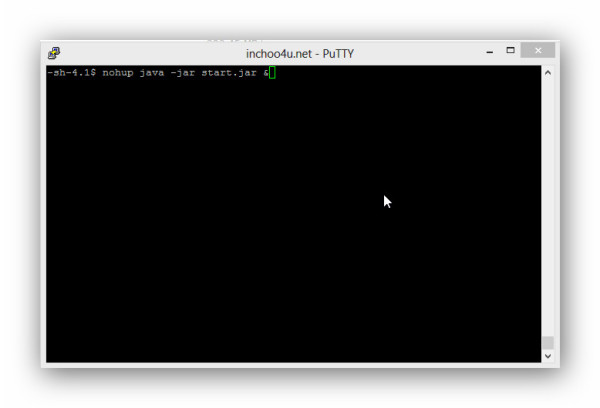
nohup java -jar start.jar &
Running this command lets you to run Solr in background and now you can close your command line or press Ctrl + C, and your Solr will continue running until we kill the process. How to do that? I will show you in the next steps: For listing all processes from one user execute this command:
ps -u user (user is your username which you used in connection ).
After that you will get a list of processes under your username: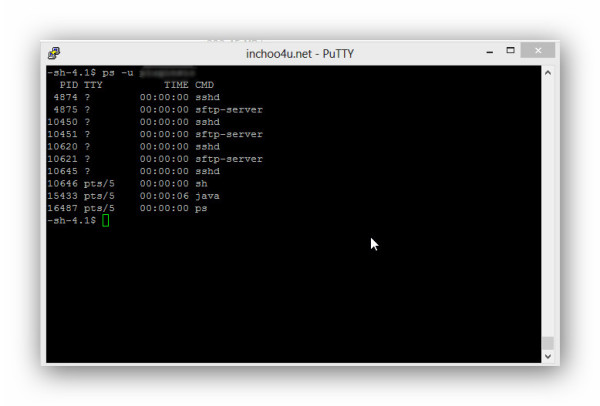
Now you see my java process is under number 15433. I will use that number and execute command to kill process:
kill 15433
At the end of this article you are able to set up your Solr. I must make a note that this is a default Solr configuration. Magento Enterprise Edition ( EE ) versions 1.8.0.0 and later, enable you to configure Solr for catalog search. For Magento Community edition there are a lot of Solr extensions.
Hope you’ll find this useful and in further articles my plan is to show you how to set up Magento for Solr search. Happy Coding and don’t forget to leave us comments below or contact us in case you need someone to help you out with your Magento development.

