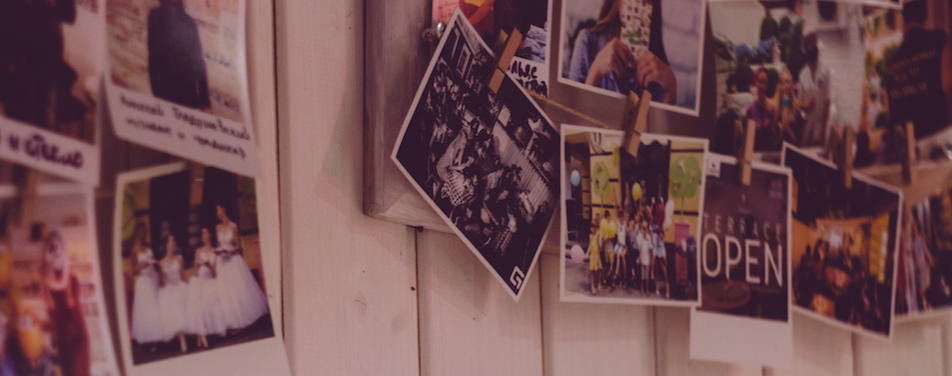
In this series of blog posts we are going to cover Magento jQuery widgets, and the first one we’ll talk about is gallery widget. As you probably know gallery widget is used on product page for displaying product images that we uploaded through Magento admin.
Since there is no need for initial setup as product image gallery works out of the box we can move right on to configuration options that this widget provides by default. As stated in Magento documentation these options can be set or better said changed in configuration file view.xml which is placed in etc folder of our fallback theme.
After copying the configuration file from our fallback theme (whether it is Blank or Luma) to our custom theme app/design/frontend/<Namespace>/<Theme>/etc we can start our customisation. Most common changes include:
- direction – refers to direction of thumbnails: horizontal or vertical
- thumbnailSize – as the name suggests this one is for setting the size of the image thumbnails
- transition effect and duration – we can choose from three different effects: slide, crossfade and dissolve
- captions – for adding image caption, can be set to true or false
- breakpoints – for setting the max-with for mobile view
There are more options that can be changed but as they are all pretty much self descriptive we’ll let you play around and explore on your own. We’ll just briefly mention two more configuration settings — for magnifier widget and for javascript bundling.
Magnifier
Magnifier is a separate Magento widget that is used by gallery widget for zooming in the product images on product page. It’s disabled by default but if you decide to enable it you can choose which user action will activate it on product image, click or mouse hover. Furthermore you can set the position and dimensions (height and width) of magnifier block because magnifier widget sets this block as a separate, absolutely positioned div in HTML page.
Javascript bundling
Regarding javascript bundling there are two configuration settings in view.xml file. One is for bundle size which controls the size of generated bundle, and the other one is exclude list for listing all the assets we don’t want to be bundled. So if you have some performance issues (namely loading time) with your web shop, bundling might be the cause and you should definitely check these two configurations.
To find out more about javascript bundling in Magento 2 we refer you to this excellent post by Nenad Andrakovic with performance testing and all the pros and cons of this optimisation technique.
Common use cases
Now let’s have a look at other other possible uses of gallery widget. Because its basic purpose is to build image galleries, we can use it to create any other kind of image gallery that is not necessarily related to product. So, let’s find out how to do that.
First thing we need to know is where to place our image gallery. If it’s going to be, for example, our homepage, then we need to create two files:
app/design/frontend/<Namespace>/<Theme>/Magento_Cms/template/homepage-gallery.phtmlapp/design/frontend/<Namespace>/<Theme>/Magento_Cms/layout/cms_index_index.xml
Inside our template homepage-gallery.phtml we’ll put the following code:
<!-- Container for our image gallery -->
<div class="img-gallery"></div>
<!-- Script that calls gallery widget -->
<script>
require ([
    'jquery',
    'mage/gallery/gallery'
], function ($, Gallery) {
    $(function () {
        $('.img-gallery').each(function (index, element) {
            Gallery({
                options: {
                    "nav": "dots",
                },
                data: [
                    { img: "<full_path_to_image_1>" },
                    { img: "<full_path_to_image_2>" },
                    { img: "<full_path_to_image_3>" }
                    ],
                fullscreen: {},
                breakpoints: {}
            }, element);
        });
    });
});
</script>
Let’s examine for a moment what we have here. First we define container for our gallery and it’s going to be div with a class img-gallery. Next, we initialise gallery widget and specify various configuration settings sorted in four different groups: options, data, fullscreen and breakpoints.
For every group there are a number of settings, but the most important group is data because it holds images for our gallery. Actually it’s an array of images where every image is an object and can have five different properties: img, thumb, full, caption and isMain. In our example we specified just one property img which contains the full path to image.
Our layout file cms_index_index.xml will look like this:
Looking at the above file we can see two distinct code blocks. In the body tag we called the template homepage-gallery.phtml that we created earlier and in the head tag we added the css file gallery.css necessary for gallery to run and work correctly. Our image gallery is functional and we can go on to add some custom styling according to project’s visual style guide.
***
In the 2nd part of this blog post we’ll continue to explore other possible uses of gallery widget and in one concrete example show how to use widget to create client testimonials gallery.
Stay tuned!