After long time, we are back on Pimcore development. This time, we are working on Pimcore 4, which is in development (RC version), and we will share some guides with you. There are many changes in new Pimcore version, but most important are; improved UI, new ext-js (version 6) and under the hood code (like new Zend version, classification store, etc).
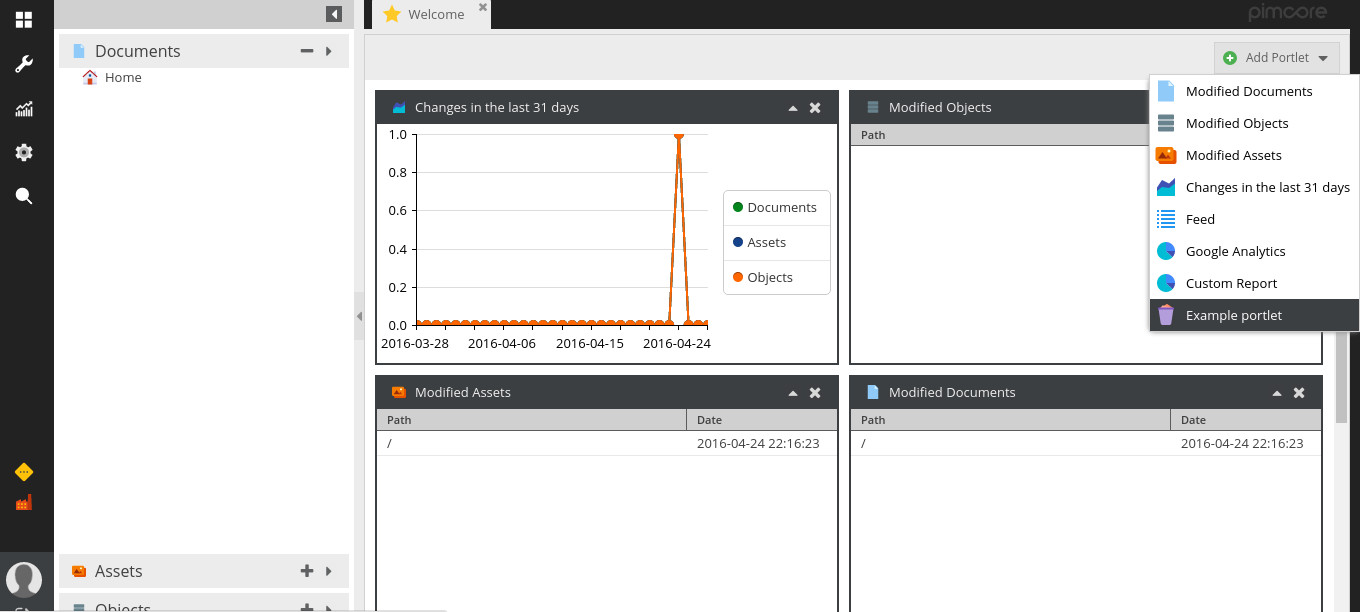
Portlets in Pimcore are dynamic widgets that can be placed on dashboard panels. As you can add multiple dashboards, you also can add multiple portlets. By default Pimcore 4 comes with Modified Documents, Modified Objects, Modified Assets, Changes made in last 31 days, Feed, Google Analytics and Custom report portlets. They can be great because you can add them to dashboard panel in any way you want, and you can have dynamic information for users as well.
For example, good portlet is “Modified Objects”, where you can see every change made in Objects like log feed, which can be very useful in big teams for easy user work tracking. Portlets can be added as many times as you want in any dashboard panel. They are stored in psf file in dashboard configuration – configurations are located in website/var/config/portal/ folder, and they are named like dashboards_DASHBOARD_ID.psf. They are fully rendered and loaded by extjs. They can be created custom for any purpose you want. All you need is one custom extension and portlet class that will be added to the layout portlet – and, of course, some knowledge of ext-js 6. Please note that if dynamic data is required you should have some knowledge about php too.
How to add portlet to dashboard
This is very simple to do. First, you should open any dashboard panel by selecting File->Dashboards->DashboardName on the left menu, and then on the top right side of panel you can find “Add Portlet” button (you can see that on the image below).
How to remove portlet from dashboard
You can simply remove portlet by clicking on the “X” button on portlet box, but remember this will remove portlet for current user.
Want custom portlet? Sure, let’s create one!
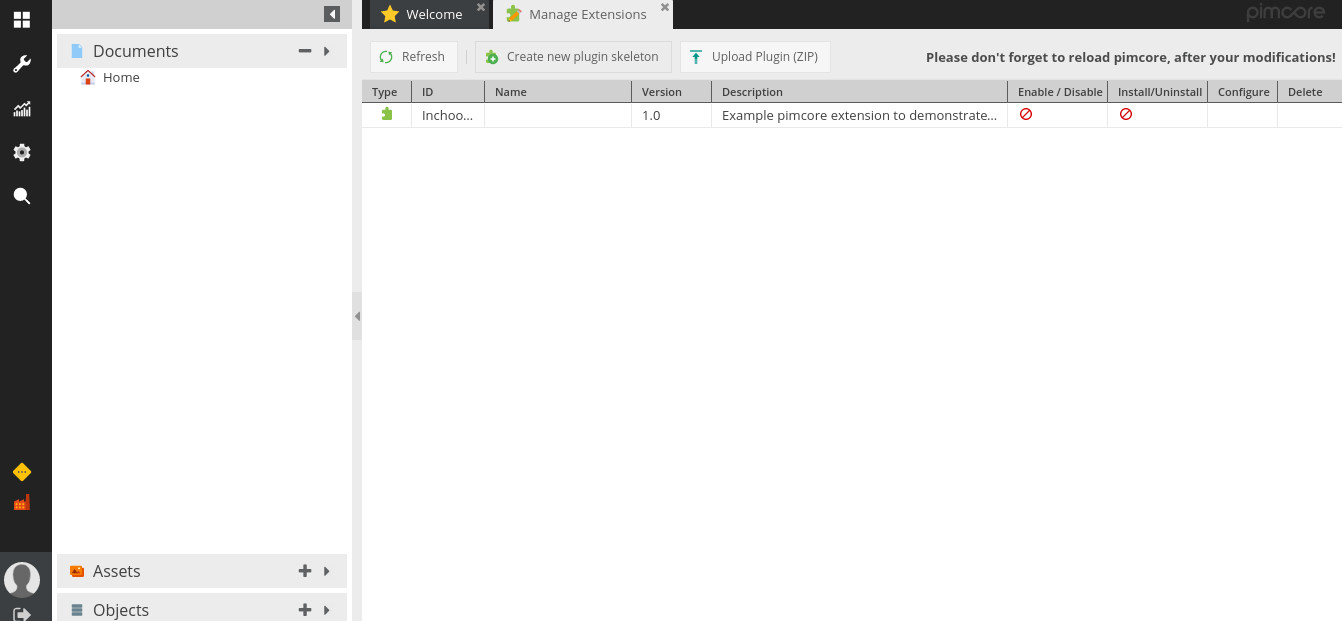
For demonstration purposes we will create one custom portlet. Let’s create portlet that will display users last 20 records in recycle bin. We will create custom extension, set all configuration, create portlet class and custom controller that will return data for our portlet. We have all planned out, now we should start with creating custom extension for Pimcore. In Pimcore, you can do that automatically by opening “Manage extensions” panel (select Tools->Extensionson on the left menu) and clicking on “Create new plugin skeleton”button. For now let’s call extension Inchooportlet.
You can see in plugins folder a new plugin with main folder named Inchooportlet. In plugin skeleton most important files are; plugin.xml, which contains all important settings for extension to work, and Plugin.php (located in lib/Inchooportlet) that is entry class loaded by pimcore autoloader and contains all important code for extension (like hooks, install/uninstall, etc). Now, we will create inchoo-portlet.js script which will contain all js logic for our portlet. Here is complete code for portlet class:
pimcore.registerNS("pimcore.layout.portlets.inchooexample");
pimcore.layout.portlets.inchooexample = Class.create(pimcore.layout.portlets.abstract, {

    getType: function () {
        return "pimcore.layout.portlets.inchooexample";
    },

    getName: function () {
        return 'Example portlet';
    },

    getIcon: function () {
        return "pimcore_icon_recyclebin";
    },

    getLayout: function (portletId) {

        var store = new Ext.data.Store({
            autoDestroy: true,
            proxy: {
                type: 'ajax',
                url: '/plugin/Inchooportlet/portlet/data',
                reader: {
                    type: 'json',
                    rootProperty: 'data'
                }
            },
            fields: ['desc','info']
        });

        store.load();

        var grid = Ext.create('Ext.grid.Panel', {
            store: store,
            columns: [
                {header: 'Id', sortable: false, dataIndex: 'id', flex: 1},
                {header: 'Path', sortable: false, dataIndex: 'path', flex: 1},
            ],
            stripeRows: true,
        });

        this.layout = Ext.create('Portal.view.Portlet', Object.extend(this.getDefaultConfig(), {
            title: this.getName(),
            iconCls: this.getIcon(),
            height: 275,
            layout: "fit",
            items: [grid]
        }));

        this.layout.portletId = portletId;
        return this.layout;
    }
});
Now we will analyze code and explain every part. First, we need to register new namespace (pimcore.layout.portlets.inchooexample), after that we will extend pimcore.layout.portlets with our unique identifier and assing our class pimcore.layout.portlets.abstract. Our class needs to contain next methods: getType (returns class type), getName (returns portlet title), getIcon (returns icon class for portlet icons displayed on add button and portlet box) and getLayout (contains all logic to render portlet content). As you can see, our most important method is getLayout so let’s explain that in detail.
As we have planned, we will have data returned from custom controller. For that we need to create store which will get response from controller in json format, and we will use that data for portlet content grid. After store load, we need to create grid panel which is standard format in ext js – it should contain our store to have data, and columns configuration so it can name table columns and display data by dataIndex name. Now we have all prepared to create portlet layout which has to contain title, icon class, height and items (our grid). We only need to set portlet id and to return all layout data.
Next step is to create simple controllers and for that we need to create PortletController.php script in controllers folder. Let’s create Inchooportlet_PortletController class which extends PimcoreControllerActionAdmin class. In class we will create our logic in method dataAction(). Let’s prepare data that will be returned and encode that in json format with helper that returns json string. Here you can see our controller code:
<?php
/**
* Example Portlet Controller
*/
use PimcoreControllerAction;
use PimcoreDb;
use PimcoreModelElementRecyclebin;
use PimcoreModelElement;
class Inchooportlet_PortletController extends PimcoreControllerActionAdmin {
/**
* PimcoreDb
*
* @var
*/
protected $db;
/**
* Set db connection
*
* @throws Exception
*/
public function init() {
$this->db = Db::getConnection();
parent::init();
}
/**
* Get data for test portlet
*/
public function dataAction() {
$list = new RecyclebinItemListing();
$list->setLimit(20);
$list->setOffset(0);
$list->setOrderKey("date");
$list->setOrder("DESC");
$items = $list->load();
$this->_helper->json(array(
'data' => $items,
"success" => true
));
}
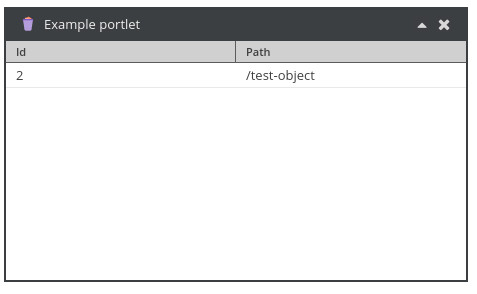
}And here you can see how new portlet look’s like:
More Pimcore?
I hope this will help you to create custom portlets and give you the motivation for deeper exploration on this great platform for Pim, CMS and Commerce. If you are interested in more Pimcore articles let us know. All suggestions and comments are welcome.