In this follow up on our first blog post about customising product info tabs in Magento 2 we’ll be talking about reordering tabs. Again it’s a fairly easy task. We already know that we’ll be looking at product page layout and template files in Magento Catalog module.
Standard Magento way for reordering and rearranging elements around the webpage is by modifying layout (xml) files. For that purpose we use move instruction together with a couple of attributes, required ones being:
element – for selecting element to be moved
destination – for denoting destination element
Optional ones, before and after, are used for placing the target element before or after the certain element under the same parent.
Although useful and easy to use, this layout handler is of no help when we face the problem of reordering product tabs so we need to find another way.
HTML markup for our product tabs is stored in details.phtml file found in module-catalog/view/frontend/templates/product/view folder. Inspecting the code we will find out that our tabbed navigation is ordered based on elements position in a $detailedInfoGroup array. We found exactly what we were looking for and now we can copy file to our theme scope and simply redeclare array before foreach loop.
// Reposition elements in array
   $detailedInfoGroup = ["reviews.tab", "product.info.description", "product.attributes"]
And that’s it!
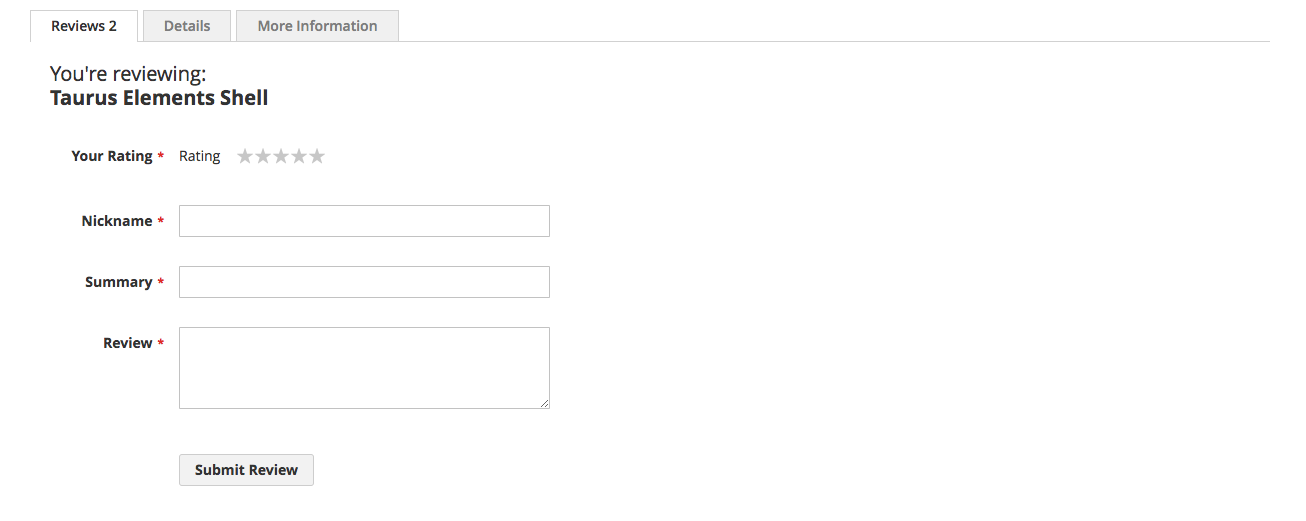
In the example above, we moved reviews.tab to the first position in array and looking at the product page in our browser we can see that tabbed navigation is in the same order defined in $detailedInfoGroup array in template file.

This simple and easy array manipulation is the way to go in almost every situation we need to change tabs ordering. However, there are one or two cases when server-side scripting cannot be our weapon of choice and we need to rely on javascript or jQuery.
Javascript to the rescue
As a client-side language, javascript is suitable in cases we want to reorder our tabs based on some user agent setting or feature such as screen resolution.
To code our .js script let’s first take a look at HTML structure of tabbed navigation. We can see that tab titles and tab contents are all div elements and all siblings, meaning they share the same parent.
In the first part of our script we will get all divs that are children of container div i.e. div class="product data items" in one array in a such a way that tab title and tab content pairs are stored in one array element:
// Get tab title and tab content pairs in one array
   var container = document.getElementsByClassName('product data items');
   var elements = container[0].children;
   var tabs = []; // declare array to hold our elements

   for (var i = 0; i < elements.length; i += 2) {
     var tabTitle   = (elements[i]).outerHTML;
     var tabContent = (elements[i + 1]).outerHTML;

     tabs.push(tabTitle + tabContent);
   }
The second part of our script is a function that sorts tabs array based on our inputs:
// Function to reorder tabs based on newOrder array
   var result = [];
   function reorder(tabs, newOrder) {
     for(var i = 0; i < tabs.length; i++) {
       result[i] = tabs[newOrder[i] - 1];
     }
     return result;
   }
Finally, our third code block is where we declare new array with arbitrary elements’ position and call our function:
// Output reordered elements
   var newOrder = [3, 1, 2]; // new elements' position
   container[0].innerHTML = null;
   container[0].innerHTML = reorder(tabs, newOrder).join("");
As you know Magento 2 has its special way for using custom javascript so I’ll refer you to this excellent post to correctly add javascript files to your project.
***
Obviously, (re)declaring php array in template file is the easier and more convenient of the two methods. But, when dealing with different settings end/or features on end users’ devices, we have no choice but to use javascript.


