Magento2 came with very “controversial” frontend architecture approach. We will not discuss that but we will try to explain how to empower current Magento2 UI library to achieve most common frontend task.
First, what is Magento UI library and where to find it. As intro text explain:
The Magento UI library is a flexible modular Magento frontend library that is designed to assist Magento theme developers. It employs a set of mixins for base elements to ease frontend theme development and customization. The Magento UI library offers the following characteristics for those who develop or customize Magento themes.
Ok, sound great, what we can expect from this library? As further text says,
The library provides the ability to customize all of the following user interface elements:
- actions-toolbar
- breadcrumbs
- buttons
- components
- drop-downs
- forms
- icons
- layout
- loaders
- messages
- pagination
- popups
- ratings
- resets
- responsive
- sections – tabs and accordions
- tables
- tooltips
- typography
- utilities
- …
Before we proceed, maybe you’ll find usefull our previous posts regarding Magento2 as CSS preprocessing in Magento 2, and this can be interesting Validate a custom form in Magento 2.
Today I will focus on simple task related to customizing forms. Look and feel, functionality, validation etc.
First, let’s say that we need to locate library documentation. If you already install Magento2 then you can access library documentation pointing browser to
http://your-ip-installation-name-whatever/pub/static/frontend/Inchoo/workshop/en_US/css/docs/index.htmlHere you will find documented and structured all documentation related to interface elements.
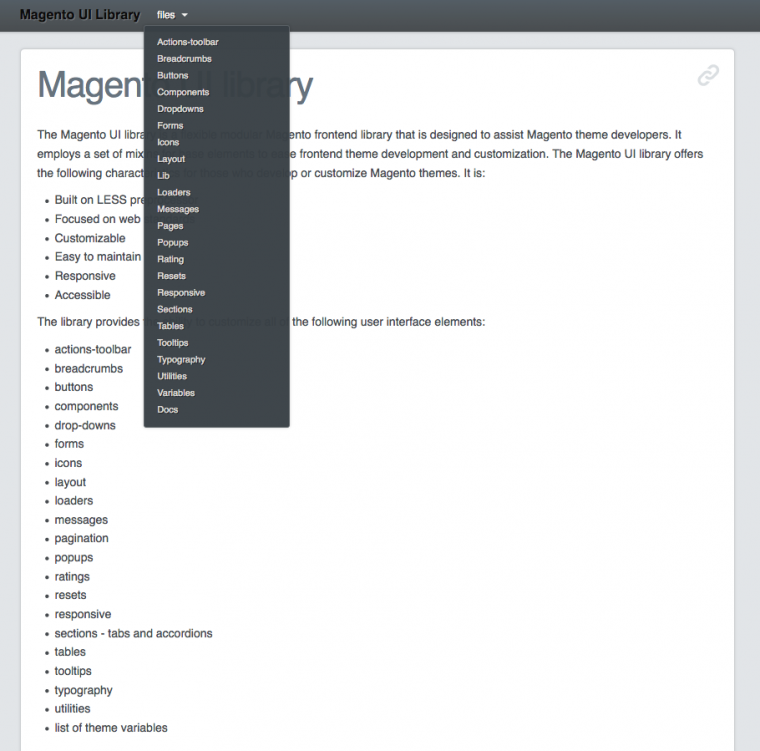
So we have guessed that you have already installed Magento2, sample data, create custom theme, using fallback mechanism, parent theme is blank. We can start with simple tasks.
Open
http://magento2install/customer/account/create/we will have registration form:
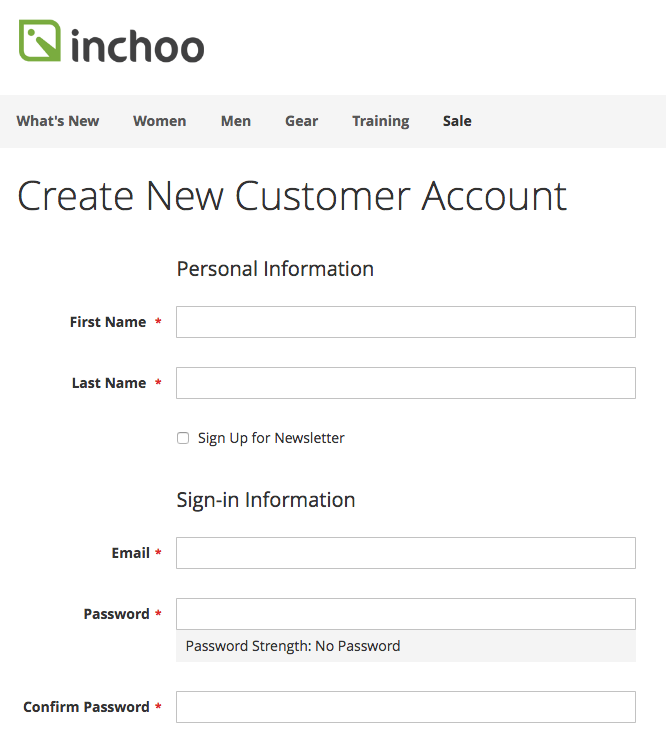
Under theme _theme.less files we can start by adding
@form-field-type-revert:block;Save, compile and we will have this:
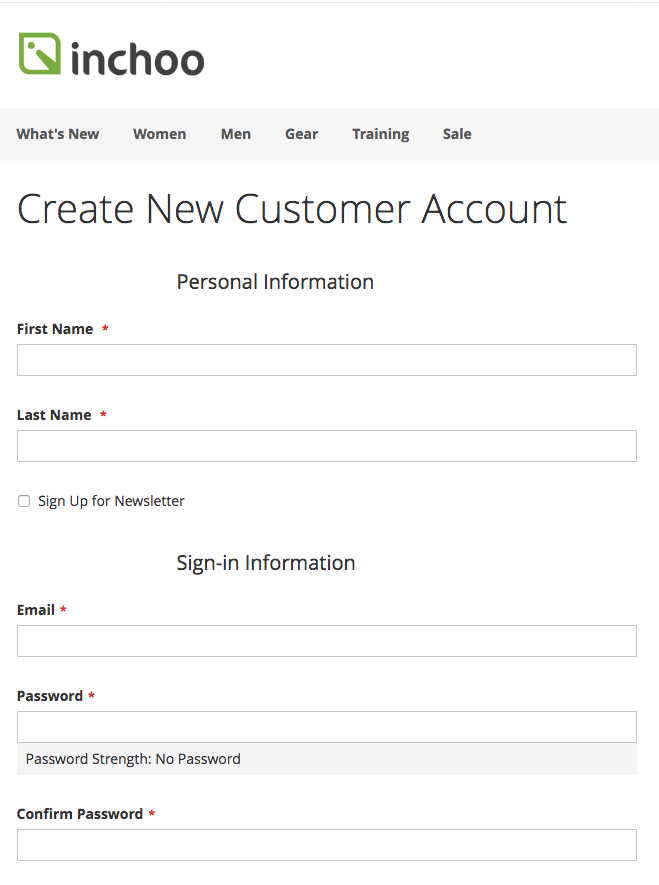
This is globally for all forms switched from inline to block label and then input field. Same thing goes if you want to change color, border, fonts, just follow documentation where all possible variables are listed.
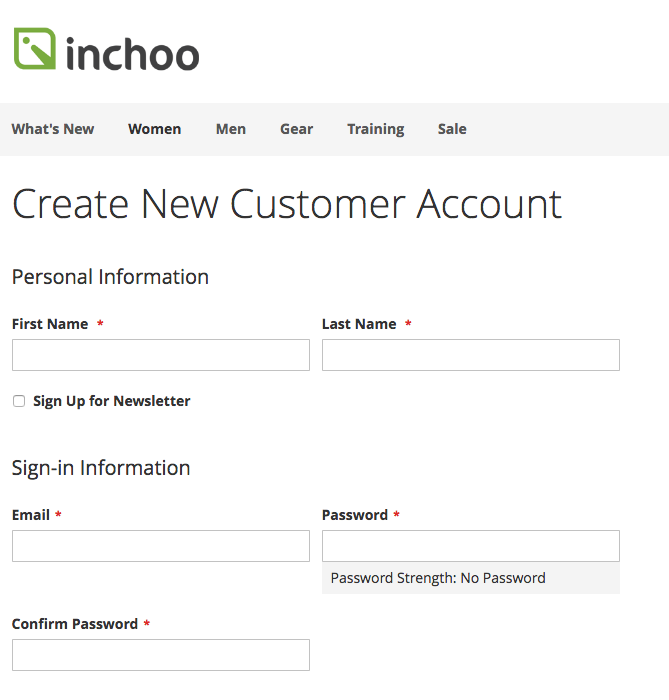
Nice feature that is really simple to get forms in columns. We will use same register form and create two columns.
.form-create-account{
.fieldset {
.lib-form-fieldset();
> .field {
.lib-form-field(
@_column: true,
@_column-number:2
);
}
}
}
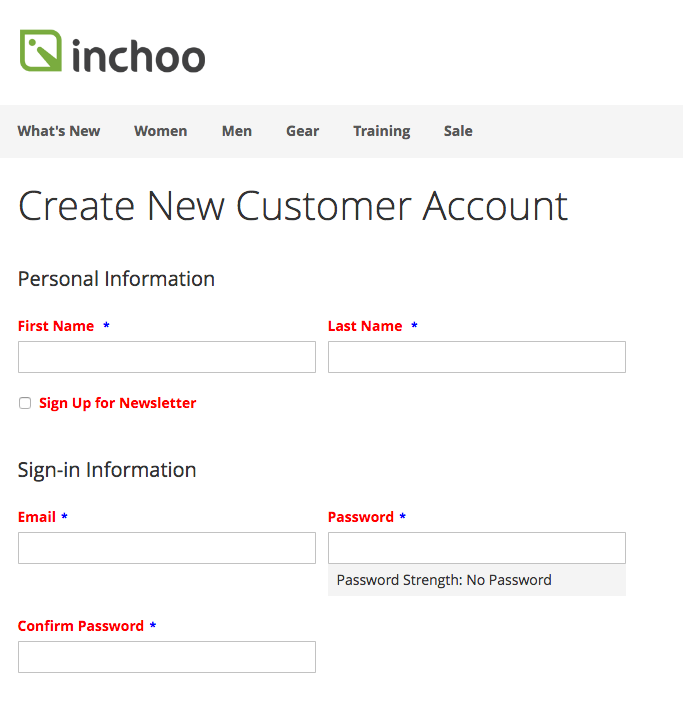
We can change color of Form field label and Label “required” asterisk
.form-create-account{
.fieldset {
.lib-form-fieldset();
> .field {
.lib-form-field(
@_label-color:red,
@_label-asterisk-color:blue,
@_column: true,
@_column-number:2
);
}
}
}
We can try to play with more global variables, for example validation:
@form-validation-note-icon__use:true;
@form-validation-note-icon__font-color:blue;
We can add a custom icon to validation message, color, size etc.

This is only a few examples what you can achieve in few minutes if you are following library documentation. As you can see there are tons of things that can be modified and reuse in different places.
I hope that these few short snippets will help you to dive in more in library and start using existing code which can be very helpful on Magento2 projects.


